Lachlan Bucknall is a former British Army officer of 11 years who has been climbing and mountaineering internationally for over 18 years.
Qualified as a Mountaineering and Climbing Instructor and a full member of the Association of Mountaineering Instructors (AMI), he is also qualified as a military Rock Climbing Instructor and Ski Touring Leader, and medically qualified as a Wilderness First Responder. Oh and a lead guide for Everest in the Alps!
Ski Touring Kit
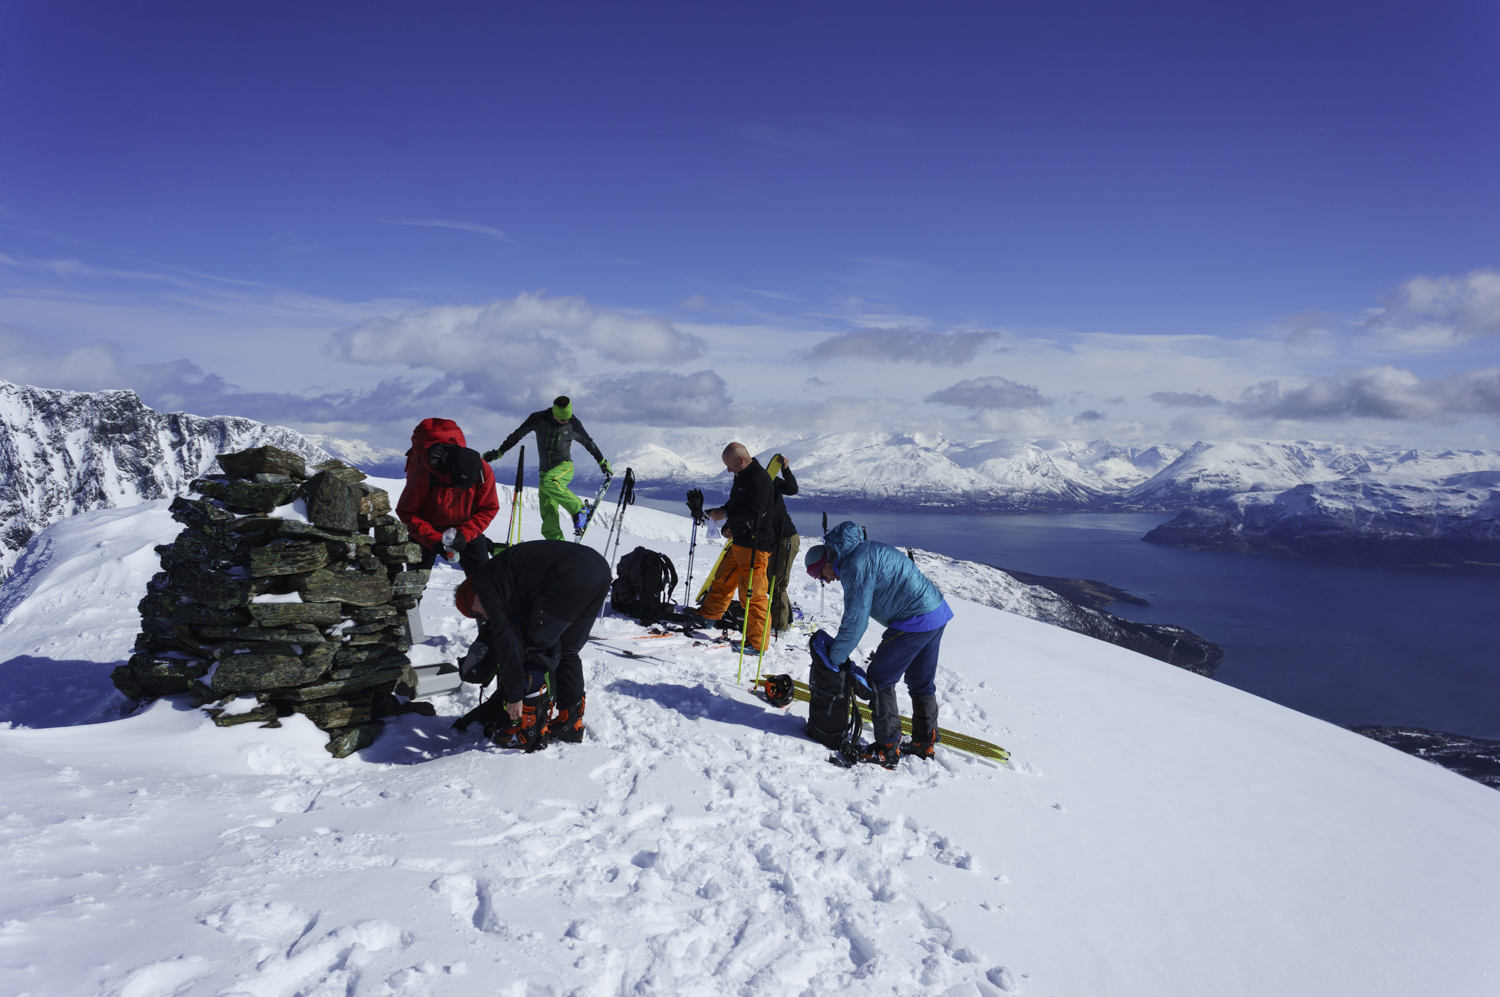
Ski touring with all the kit it involves might seem like a bit of a daunting prospect, compared to resort piste skiing there are quite a lot of extra things to think about so this article gives you some guidance and top tips for staying comfortable for the ski up as well as the ski down. Some of it is personal preference, some of it would be enshrined in the international law of ski touring if there were such a thing, here are some key points to consider on kit before heading out on your first ski tour.
Think Avalanche Safety
Whenever you are going into avalanche terrain you need to be carrying the right equipment and have the right knowledge, firstly to make the best decisions not to get avalanched, and secondly if the worst case did happen you are able to rescue and be rescued. If you don’t know about avalanches and how to minimise your risk of being in one then I highly recommend doing a course so that you do, knowledge weighs nothing and it will serve you well in your ski touring for years to come.
Carrying the right kit does not in any way guarantee you will survive an avalanche but it greatly increases your chances. As a minimum you need a transceiver, snow shovel and a probe with avalanche airbag rucksacks being a great lifesaving bit of kit that many people carry touring now as well.
There are lots of variations for these bits of kit depending on your budget but I would recommend buying a simple to use digital transceiver (Mammut Barryvox or the Ortovox 3+ are great options) get a snow shovel with a metal blade (plastic ones are useless at digging avalanche debris) and a probe that is at least 2.3m long. You can buy kits with all three which can save you a bit of cash and if you are buying a transceiver second-hand then make sure that it has been serviced if it needs it (follow manufacturers guidelines on that one).
Light is Right
Whenever I am carrying kit I’m looking to strip the weight down to the minimum I can get away with, either through leaving stuff behind that I don’t think I will need or by having lightweight kit that will serve the purpose. There is kit that I will never leave behind for touring and there is kit that I will take if I need it for the group or conditions that day, in addition to my ski equipment I am always carrying the following:
- Avalanche safety equipment
- Waterproof layer (top and bottom) if I am not already wearing waterproof jacket and trousers
- Warm breathable mid layer
- Warm ‘booster’ layer (synthetic insulated jacket)
- Gloves (thin softshell gloves, I’ll carry a warm pair of gloves for the descent if it’s cold)
- Fleece headband/Sunhat/both
- Sunglasses and goggles
- Head torch and spare battery
- Map
- Compass
- Watch with GPS
- Basic personal first aid kit (to deal with minor cuts/blisters)
- Drink (usually water in a Nalgene bottle but sometimes a hot sweet drink in a flask)
- Snack
If the conditions are colder/winder/snowier or if the terrain is more serious with cliffs/glaciers then that list increases so I can stay safe and enjoy the day, more on that in the points below. I would also have some group kit spread out amongst the team which keeps us safe such as a group shelter, first aid kit, phone, 30m rope etc.
Another way of saving a lot of weight is to only carry the water you need. Some people carry litres and litres of water, it’s heavy, knackers you out and you don’t need to. Hydrate in the morning before you set off, drink what you can carry during the day and then most importantly rehydrate in the evening. For a day of ski touring the maximum most people need to carry is 2 litres, I usually get away with half a litre if I’ve hydrated well beforehand, that’s a kilo and a half less weight to carry uphill which works for me!
Get the Right Ski Setup for You
There are a large number of options for ski touring skis but as with everything it’s a payoff between how light you want to go for the uphill and how good they are to ski on the way down. Make sure you get a long enough ski to support your weight in powder and if you are of a bigger build you may want to opt for a slightly wider ski underfoot. I’m 6’2” and 80kgs and this year I’m skiing some 188cm Black Crows Camox Freebird skis which underfoot are 96mm, they are awesome on all the terrain I’ve put them on and with the binding I have paired them with they are very light for how much skiing enjoyment I get out of them.
If you’re buying bindings then it can seem like a bit of a minefield of options and again they range from super lightweight ‘skimo’ bindings with no brakes (so you’ll need leashes) up to fully TUV certified bindings which are safer (because the release settings can be accurately set) and they work more like a normal alpine binding for the way down. Depending upon what sort of touring and other skiing you will do then the right binding for you will fit somewhere in this spectrum, for the new ski tourer I’d recommend something at the heavier but safer end of the scale especially if you are not so confident skiing a wide variety of snow conditions off-piste. I have a set of skis with alpine bindings for in resort so my touring bindings are a lightweight set of ATK R12s which have adjustable release settings (not TUV certified though) and come with brakes, they only weigh just over 600 grams for a pair which is amazing.
Skins can be bought pre-cut to fit some skis or you can get them to trim to fit, the fixings and glue vary from brand to brand but as a good all-rounder the Black Diamond Glidelite Mohair Mix STS is my favourite for European snow conditions. You will also need ski crampons which are specific to your bindings for when the snow get’s too icy for the skins to grip.
For ski poles I’ve had some Black Crows Oxus for a few years which are ace, they are solid rather than telescopic but with a large grip that allows you to adjust your hand height on the pole easily. I’m not a fan of telescopic poles for touring; I never adjust them, they can collapse at the worst possible moment and if you’re needing to carry your poles on your pack then you are likely to already be carrying your skis on there as well so there is no use in collapsing the poles down. Any pole will do though so long as it has a powder basket rather than a small piste basket.
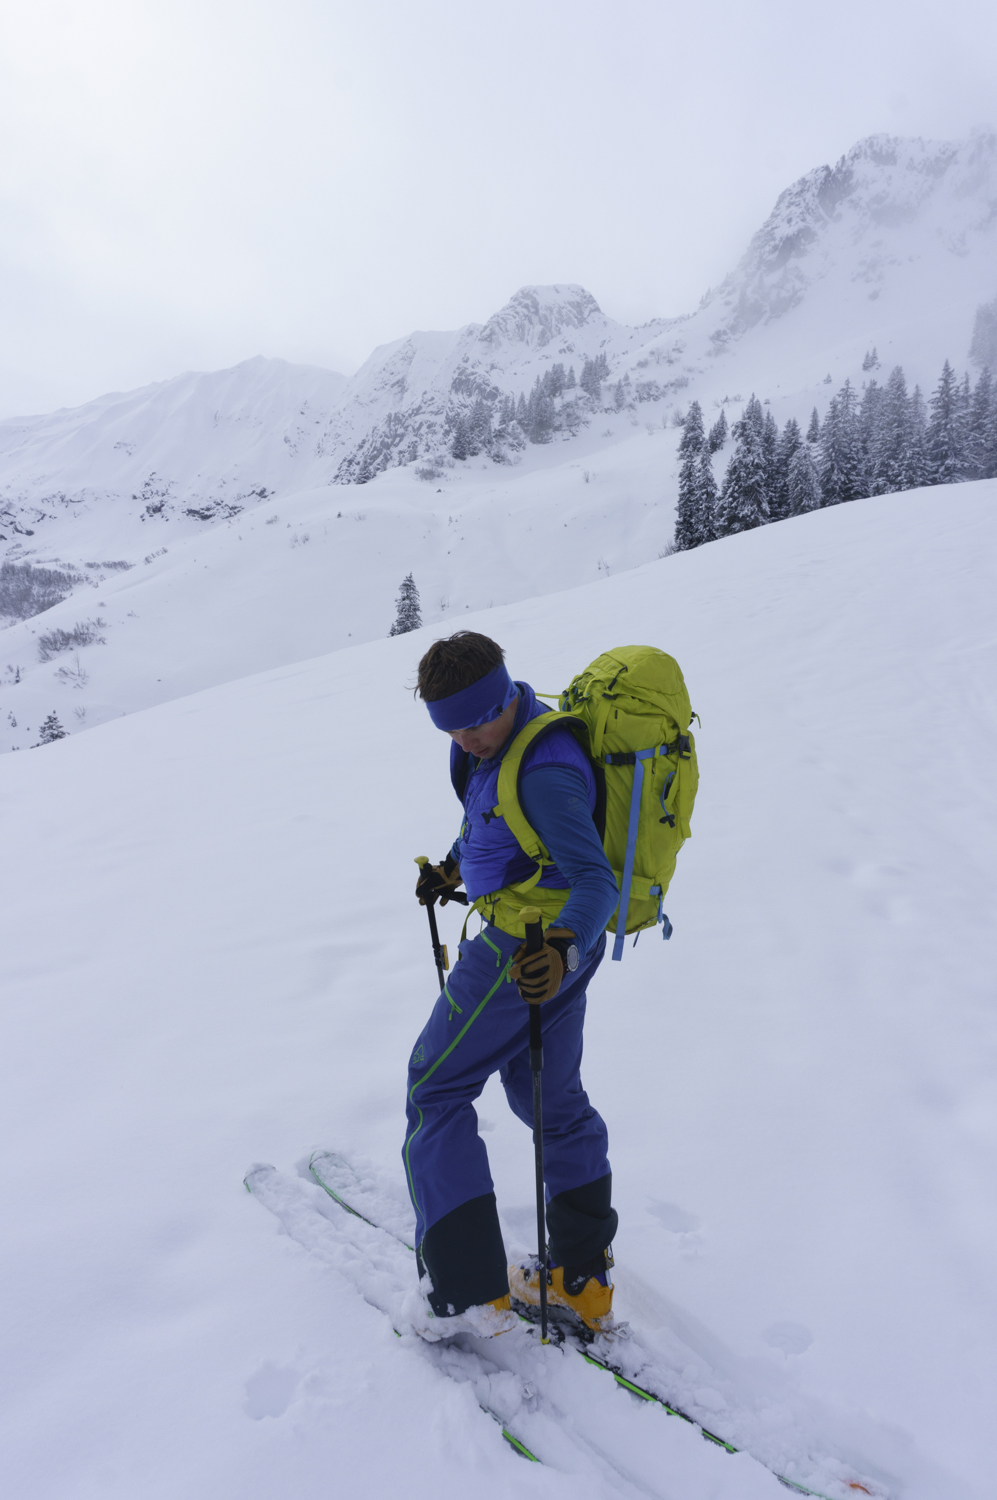
Layer Your Clothing
To stay warm, don’t get too hot. This might sound ridiculous but what it means is don’t sweat or minimise it at least. You need to have waterproof jacket and trousers and for ski touring insulated ski jackets and trousers are not the way to go, warm layers underneath a waterproof ‘hardshell’ is what you want.
There is a plethora of breathable hardshell fabrics out there ranging from the well-known Gore-tex Pro to brand specific fabrics such as Jottnar’s Skoldr. All of these fabrics breath to an extent but because they all have to strike a balance between breathability and waterproofness then you are going to sweat inside them when skinning uphill. If it’s not snowing (or raining!) or a cold wind then you are best to leave it in your rucksack and let your sweat evaporate. Use the vents on your ski trousers to achieve the same for your legs or use a softshell trouser and carry a super thin and lightweight set of waterproof trousers to throw on if you get sleet or rain. If you are soaked with sweat when you stop then you’ll cool down super-fast in the mountains.
Similar to the waterproof layers you don’t want your warm layers to cause you to sweat so don’t set off skinning uphill wearing them all, as the old saying goes; be bold, start cold!
On top of my base layer, which is either a merino wool thermal or synthetic wicking fabric, I have a layering system for warm layers rather than just one thick beefy warm jacket. This consists of one or two mid-layers; my usual combination is a Patagonia R1 hoody which I find is great for breathability and warmth, and then a Jottnar Alfar which I only use on colder ski tours. In my pack I also have a ‘booster’ layer which is a synthetic ‘duvet’ jacket which can be thrown on over whatever my outer layer is at the time when I stop. I keep this handy in the top of my rucksack so I don’t have kit exploding all over the snow like a grenade has gone off to be able to get to it. On colder days this booster layer is a heavier but warmer jacket but wherever I can I use a Patagonia Nano Puff Hoody which is very compact and lightweight.
All of the above with exception of the base layer have hoods which is a great way to regulate your temperature by putting them up or down whilst on the move. Another favourite bit of kit for me is a headband, it keeps your ears warm but lets your head release a lot of the heat generated when skinning uphill. That in combination with a hood is all I usually need; it goes over a sunhat if I’m wearing one and it stashes easily in a pocket on the move if I am too warm.
On my legs I rarely wear thermal trousers under my ski trousers when I’m touring but I do if it’s exceptionally cold, if I’ve chosen to leave them off for a single day tour I never carry them in my rucksack just in case, that’s extra weight and imagine the faff to put them on!
Look After Your Feet
Going uphill can punish your feet if you don’t get a few things right. First of all I have boots with a decent touring range of movement (how much the ankle cuff moves forwards and back) which have been professionally fitted to my feet. This involved a custom footbed (insole), thermal fit liners and some stretching of the shell to fit my freaky feet! I cannot recommend going to a decent boot fitter highly enough, if they aren’t right first time you can take them back and get further adjustments done and with any other option you are running the risk of getting some very sore feet. If you have new boots it is worth trying them out as best as you can before you commit to any long ski tours, if there are niggles wearing them round the house then it’ll be worse in the mountains.
There are a range of ski touring boots on the market from hike and ride boots which are more like a normal alpine boot but with a limited walk mode, right down to super lightweight ‘skimo’ boots which are great on the up but not so fun on the way down. I’ve had some that are in the middle of those two extremes with 3 buckles and nowadays you can get some pretty light 3-4 buckle boots that can drive big skis, speak to the boot fitter about what you want and they will find a boot that fits your feet and your ski touring aspirations. The only caveat is that injection molded liners are too cold for ski touring even though they give a good fit, go for a thermo fit liner instead. If you have pin bindings then you must have compatible boots with the metal toe and heel inserts.
After that get some decent ski socks, these can make a big difference and well-fitting socks which aren’t too thick will serve you well, merino socks such as the Icebreaker Ski+ Lite have worked for me. If you wear too thick socks they will squash your feet too much which makes them cold from restricted blood flow.
If you are getting ‘hot spots’ then don’t hesitate to stop and tape them up with zinc oxide tape. If you’ve already got a blister then Compeed patches work well to keep you going but tape is better at prevention. In the hut in the evening put dry socks on clean feet and let them recover for the next day. Take the liners and insoles out of your boots and dry them out in the hut overnight so you set off with everything dry in the morning, this will keep your feet warmer too if the temperatures drop.
Minimise the Faff
You can save a lot of time through not faffing with kit on the hill, knowing how your kit works and where it lives in your rucksack can make a big difference to how easy it is to transition from uphill to downhill and vice versa. Check how the bindings switch from uphill to downhill and make sure the brakes are set to work before taking your skis off, often in uphill mode they won’t engage if you take your boot out of the binding and I’ve seen skis disappear off down the hill when people have forgotten to do this!
Heel raisers are great to stop your calves blowing out on steep skin tracks but switching them up and down can be fiddly, have a practice and don’t keep changing them all the time or everyone behind you will get fed up of having to stop while you do!
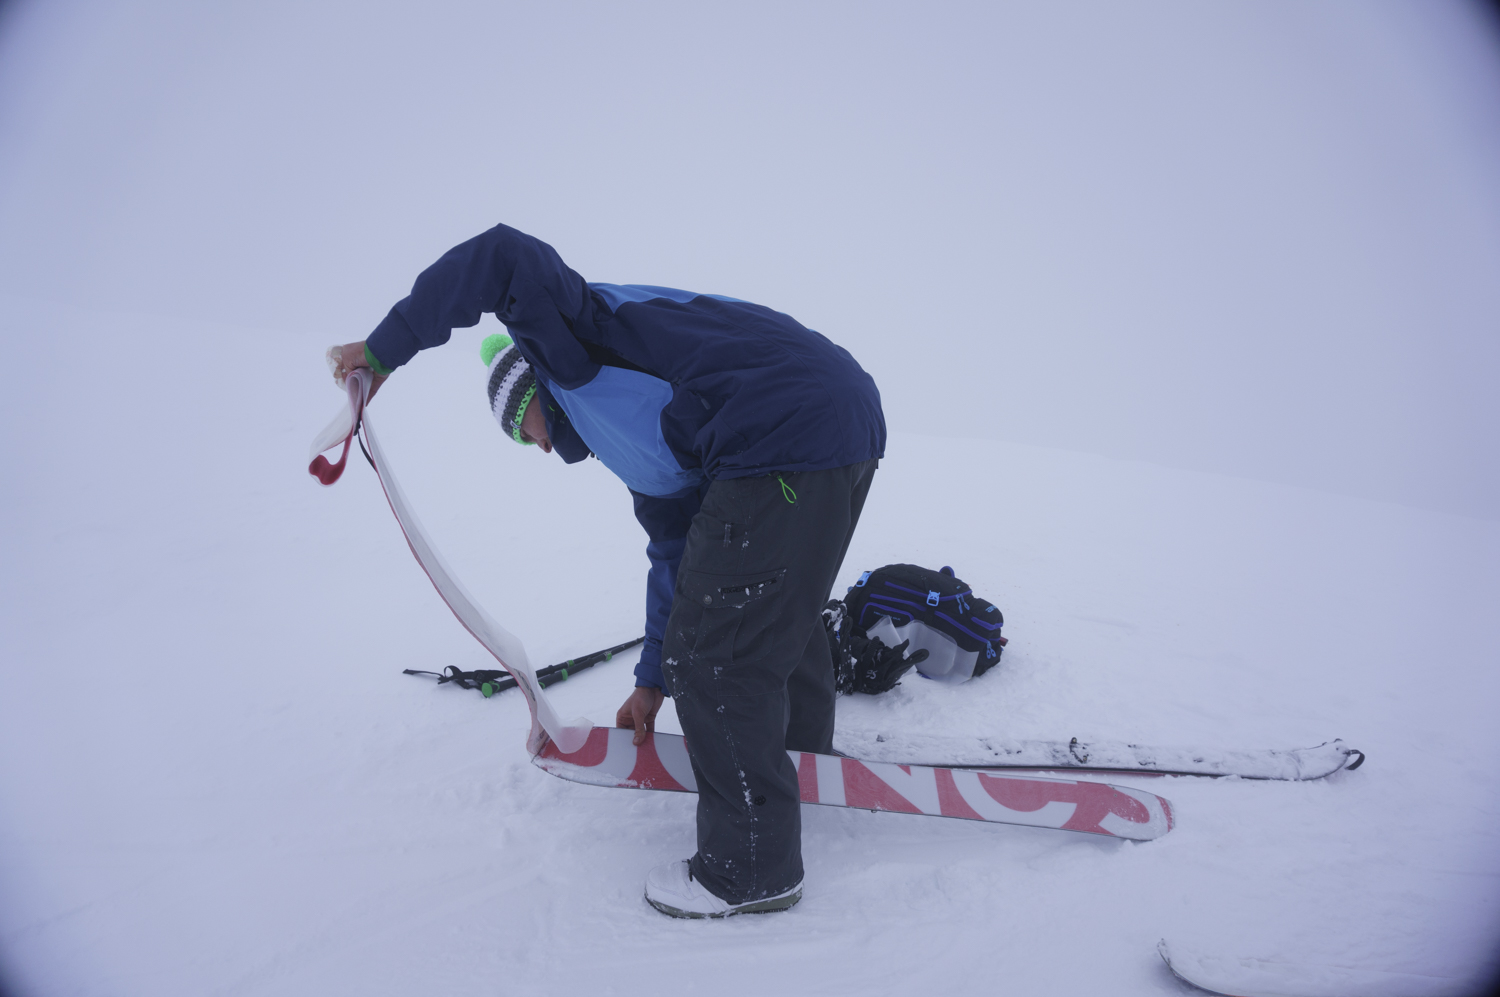
When taking your skins off keep them out of the snow so the glue doesn’t get wet, if this does happen then wrap your skins around your body under a jacket rather than in your daysack so that the glue sticks when you come to put them back on your skis again for the next uphill.
Having a ski specific 25-30 litre rucksack will make things easier for you, these have a dedicated pocket for your avalanche gear and this can also take your skins when they aren’t on your skis. They also have useful features such as dedicated carriage systems for skis, helmet carrier, goggle pocket etc and generally just make life easier for carrying the kit you need.
Enjoy!
So that is a super hasty run down of what ski touring kit you need, above all else knowledge is the most important thing and knowing when to leave something behind comes with experience over time.
As you do more and more tours you will work out what kit system works for you and what doesn’t, think about what you carried and if you used it and could you safely get away with not carrying it next time, or did you need something that you didn’t have with you. Overall though just pack a light rucksack, go with people with experience and have a great time earning your turns!
Lachlan spent over a decade training, leading and developing people for the harshest of environments including Iraq, Afghanistan and Africa. With a desire to develop people he wanted to utilise those leadership and instructional skills and combine them with his love of the mountains, Mountain Addiction was born.